Elementor is a theming tool that helps you create responsive website designs. It has a drag-and-drop interface and it is easy to use.
The theme comes with many different customization options, such as the ability to change the logo, color scheme, fonts and more. You can also install plug-ins to add functionality like contact form or Google Maps integration.
Elementor’s drag-and-drop interface makes it easy for users to create responsive websites without any coding knowledge. It also allows for quick customization of your website design without the need for designers or developers.
In this post, we will provide you with a straightforward and easy-to-understand Elementor tutorial so that you can utilize this tool to create the website of your dreams.
What Is Elementor?
We shall introduce Elementor before diving into the Elementor tutorial to give you a better idea of this website builder.
Elementor is a page builder that was built from the ground up. It may be used to construct a single page, but it can also be used to work on huge websites.
The biggest advantage is that you can see a real-time preview of your page as you develop it. That means you may experiment with the pieces to construct the page you want without any problems.
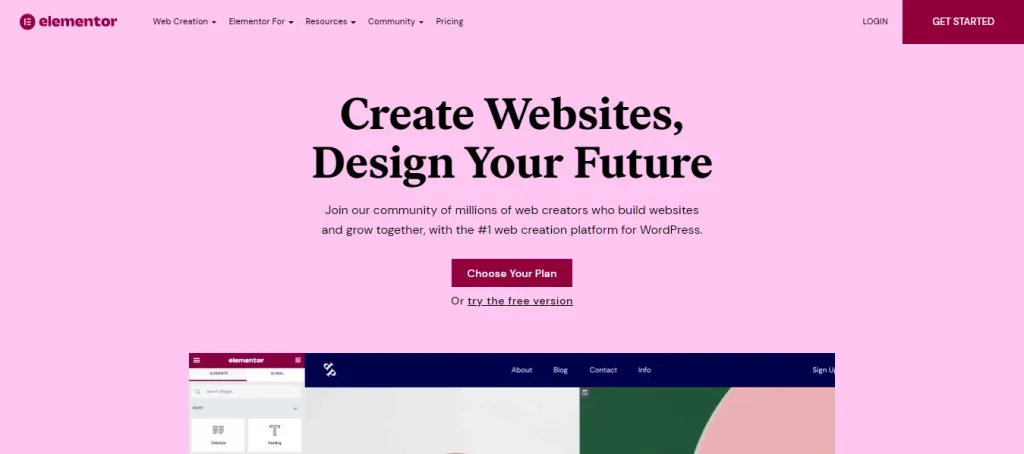
Elementor is available as a free plugin. The pro version (the cheapest plan costs $59 per year) includes the following key features:
- Themes Builders.
- Popups Builders.
- WooCommerce Developer.
- Marketing Instruments.
- Builder of Dynamic Content Forms.
- Additional widgets.
- We’ve created a comparison article between Elementor Free and Elementor Pro so you can learn more about the benefits of using Elementor Pro.
Elementor Tutorial
This tutorial will show you how to get started with Elementor and design different types of WordPress websites by using the various features provided by the platform.
Preparation
Domain and Hosting
A domain is an address that visitors may use to access your website (for example, website.com), whereas hosting (more specifically, web hosting) is a location where your website is placed.
A dot com domain usually costs between $8 and $13 per year. You can select a hosting package based on your requirements.
Elementor Pro
To design a custom header, custom footer, and other theme components, you must use the paid edition of Elementor.
For the pro version, Elementor provides three plans. If you wish to build a website for your own company, you may select the essential plan for $59 per year.

Installing WordPress
When everything is in order, you may begin working on your website. The first thing you should do is install WordPress because it is the foundation of the website we are going to build.
The precise methods for installing WordPress differ based on the control panel provided by your hosting provider.
Installing Elementor
Step 1: Log in your WordPress.
Step 2: From the DashBoard, press Plugin > Add new.
Step 3: Search for Elementor and Install.
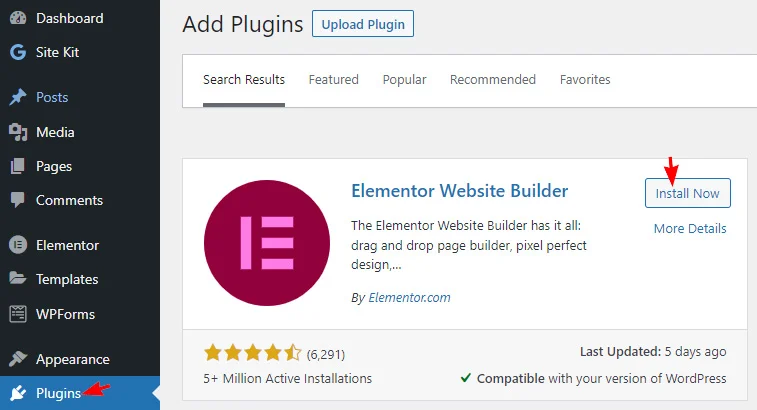
Step 4: Activate the plugin and start building your own website.
Creating your website
Set the site logo, icon, title, and description
You may define the fundamental aspects of your website, such as the logo, icon, title, and description, before developing the core pages and custom templates with Elementor. While you may add these pieces later, doing so upfront will be extremely beneficial because they will be used in the next phases.
When building a website with Elementor, we highly advise you to use Site Settings rather than the theme customizer to configure the site logo, icon, title, and description. This will provide a lot more flexibility in the future when it comes to theme changes.
Even if you change your theme, nothing you’ve set in Site Settings will be lost.
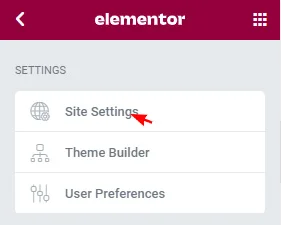
Enter the Elementor editor by modifying a page to reach Site Settings. When the editor is active, click the three-line symbol in the top-left corner and choose Site Settings.
Click the Site Identity menu on the Settings block.
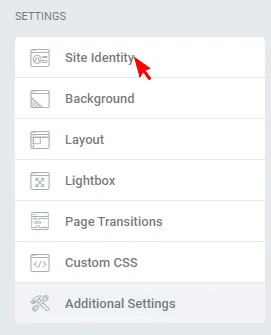
Simply enter the site’s logo, icon, title, and description into the appropriate areas. Remember to click the Update button to save your changes.
Create the core static pages of your website
You may begin developing static pages for your website after Elementor Pro is activated. In our scenario, we will develop the following static pages: Homepage, About page, Contact page, Clients page, and Services page.
Homepage
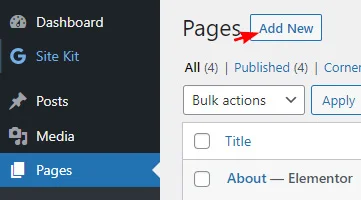
Create a page (Pages -> Add New) and edit it with Elementor. Give this page a name like “Home”, “Homepage”, or “Front page”.
Set the page layout by clicking the gear icon on the bottom-left corner on the left panel. Set the page layout to Elementor Full Width.
Because we wish to build the website using the Digital Agency template kit, click the folder icon on the canvas area to import the Digital Agency template kit’s homepage template.
Under the Pages tab of the template library, search for “digital agency” and choose the homepage template. To open it in the Elementor editor, click the Insert button.
When you’re through customizing the content, click the Publish button on the left side to Publish the page. You may also preview it by clicking the eye symbol first.
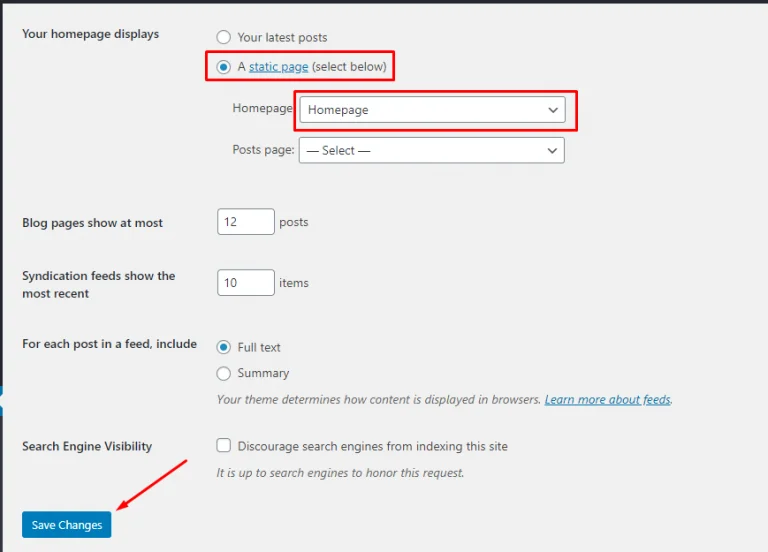
After you’ve published your homepage, navigate to Settings -> Reading. Set the homepage display to static, then choose the newly created homepage from the dropdown menu and click the Save Changes button.
Other pages
Create a new page with Elementor (Pages -> Add New). You might title this page “About” or “About us.” Set the page layout to Elementor Full Width by clicking the gear icon in the left side.
On the canvas, click the folder icon. Enter “Digital agency” in the search box under the Pages tab. To open the about, contact, clients or services page in the Elementor editor, select it and click the Insert button.
Customize the content as you did for the homepage, then publish the page.
Elementor Tutorial: Conclusion
And that’s the end of our Elementor tutorial. Hopefully, after our Elementor tutorial, you can build your first website easily.
If you enjoyed this article, please leave a comment and check out our other articles.
